Thursday, December 6, 2012

Having fun with Chevron!

My oh my chevron print is so stinking cute! Now that the whirlwind of Thanksgiving is over, and my life is somewhat back to normal, I wanted to make up a few ruffle totes out of chevron. I love them!


Yellow & Grey w/ Grey Lining


Multi Color w/ Yellow Lining


Red with Red Lining


All thee. Now, off to make some more!
 
Have a great Thursday!

Monday, November 26, 2012

Mason Jar Pin Cushion

Hello! I trust everyone had a fantastic Thanksgiving!!! I know I did. Ours involved our son, Taylor, returning home from a two year mission for our church. He served the great people in the Jacksonville, Florida mission. We had both sides of the family with us for Thanksgiving....45 people for dinner!!!
 
 
Trust me, after 733 days, I was truly grateful for this hug!
 
 
Now onto the pin cushion. I am going out with some friends for our own little Christmas celebration. We are each to bring a gift for the others that represents something we love, and keep the cost at $10.00. I love to sew. So, I thought I would make a sewing kit for my girlfriends.

 
Here they are all done. I think that they are sweet! Now, I would like to show you how to make one for yourself, or for your friends.

 
First off, gather all the supplies that you would like in your kit. My container is a mason jar.

 
For the pin cushion part start by cutting out a piece of cardboard 1/4 inch smaller than the circle part of the lid. Then cut the fabric that you would like to use 1 inch bigger than the cardboard.

 
Then, layer the fabric, stuffing and the cardboard circle. (I know, green stuffing...who knew?)

 
Using a glue gun, pull the fabric up around the circle.

 
So, after it is all glued it should look something like this.

 
I then glued the cushion to the lid with hot glue.

 
Screw the lid onto the jar.

 
Stick your pins in and the cushion part is done.

 
I completely forgot to put some buttons in the jar, so I made up these cute button cards to go into the jar with the other sewing supplies. I also made up a tag for the outside of the jar.

 
So, as you can see ~ super cute when done!
 
I hope that you had a wonderful Thanksgiving and now are ready to move onto Christmas!!!

Saturday, November 17, 2012

Just a little scrub.....

Tonight I went to a craft night at my church and got to visit with a bunch of great gals, eat good food and make some fun crafty stuff! One of the things that I learned how to do was to make an exfoliating hand scrub. It was so fast and so easy - I thought I would share it with you. I think it would make a quick and fun gift for a friend or even as a hostess gift!

Exfoliating Scrub

 
1 1/4 Cups Sugar
1/2 Cup Olive Oil
1 Tbsp. Essential Oil

 
Mix all the ingredients together

 
Put into a jar

 
Tie off with a cute bow or tag...and that's it!
 
I made 24 jars of the scrub tonight and it took 1 hour.
 
The scrub actually makes your hands feel great! Think of the people that you could give this to! I know 24 people that are going to get their own jar tomorrow! ;)

Thursday, November 15, 2012

Winner Time!

Well today is Thursday, which is the day of the raffle! So, why not get right to it? There were 16 entries for the raffle, so I went super high tech....
So, every entry got a number...number into basket....

My fantastic assistant reached deep into the basket to pull a number....

And the number is.... NUMBER 1!!!
 
So, the winner is
 
Julie Cabral Lear!!!!
Congrats Julie! You can email me HERE your address and I will get the scarf out to you!
 
Thank you everyone for entering!

Wednesday, November 14, 2012

Christmas is coming!

Unfortunately my sewing machine is collecting dust! I have been working on some Christmas crafts for an upcoming crop that I am hosting and wanted to share them with you. The entire time I was working on these crafts, Pandora was softly playing Christmas music in the background. I am so ready!
 
First up is this cute wood block Christmas village. I love all the different patterns of paper used together. Ink and stickles finish them off! 

Jingle all the way blocks 
Christmas Joy picture frame. The picture is held on with clothes pins. 
Noel picture.  
Stacked wood block Christmas tree
 
So, as you can see, I have been busy! But have no doubts, the sewing machine cover is coming off tonight! I have two special bags I have to whip up! If you are a Disney fan, you just might want to come back to see them!
 
Remember to enter to win the Ruffled Scarf Giveaway!
 
See you tomorrow at noon!
 

Wednesday, November 7, 2012

Ruffle Scarf Tutorial & Giveaway!

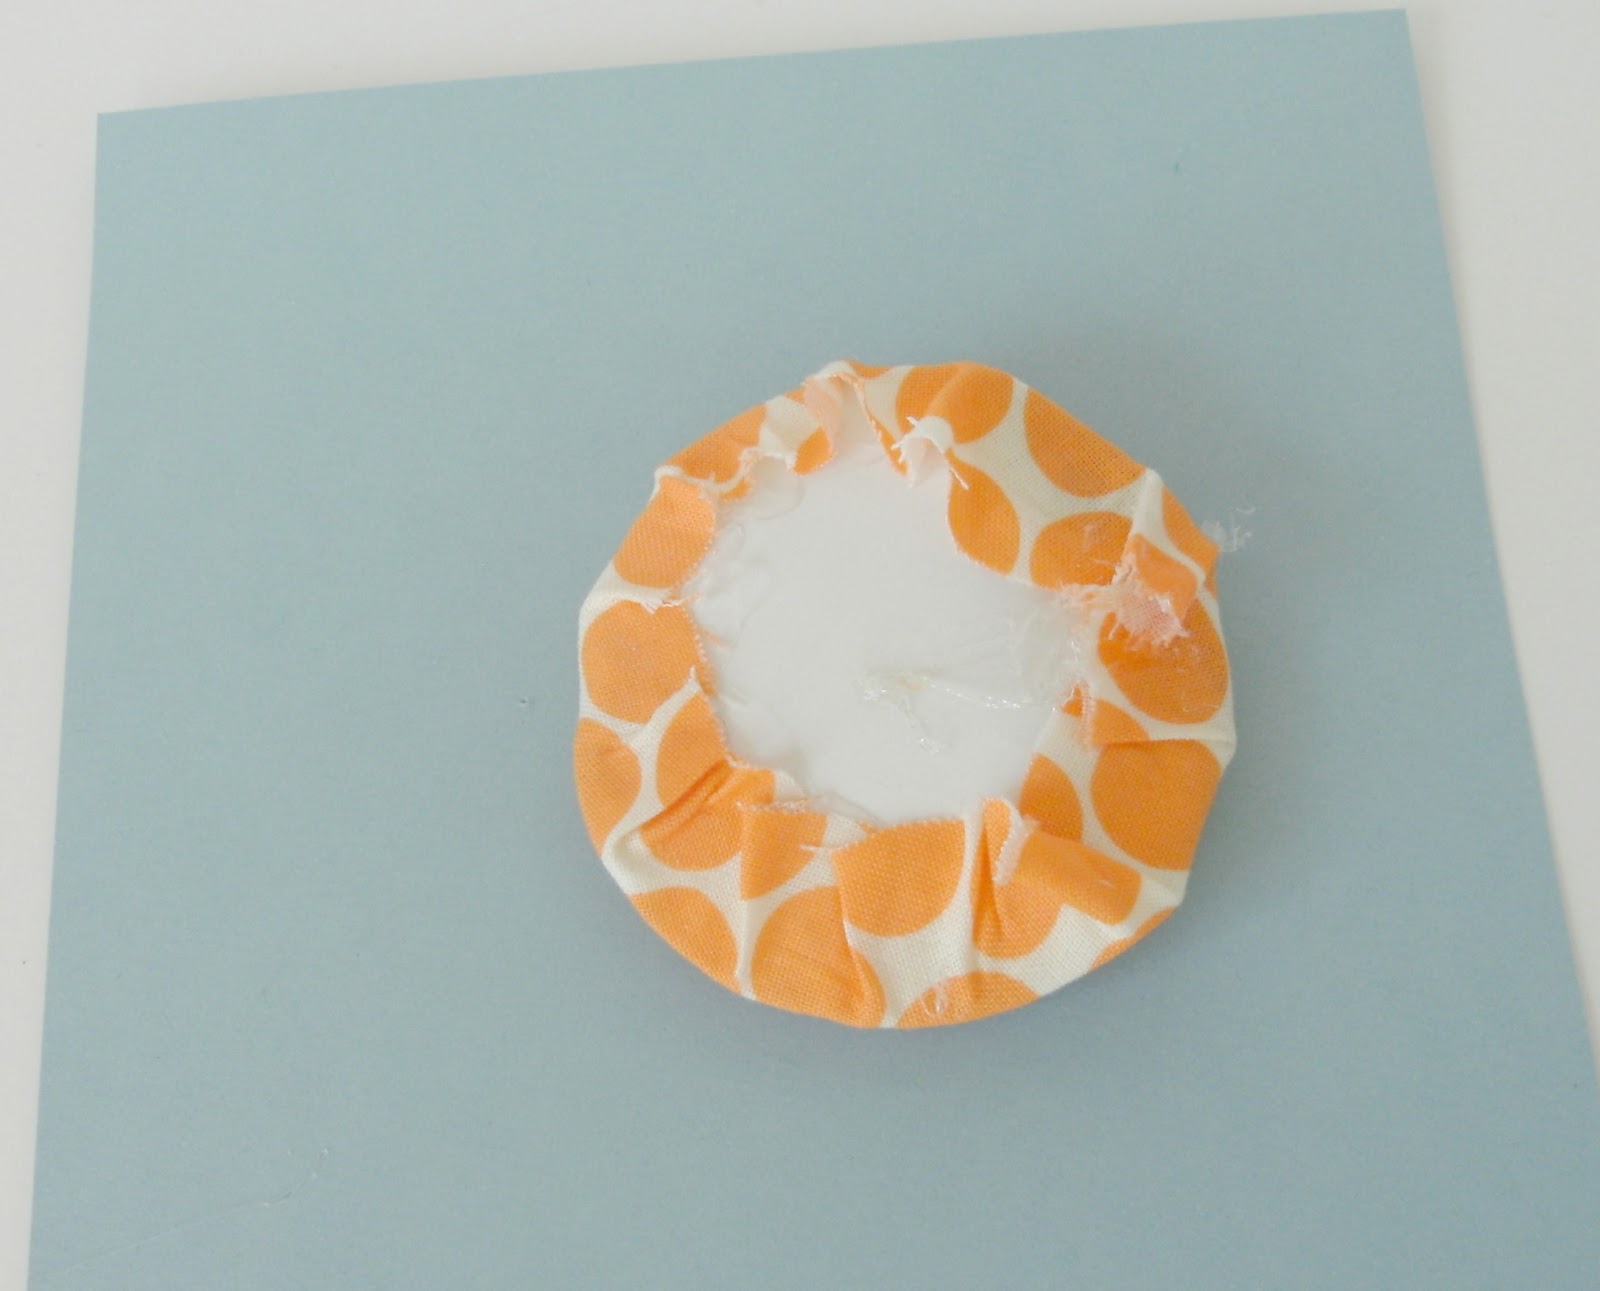
Well I promised last night (or this morning!) that I would post the tutorial for the ruffled scarf that I made. Let me warn you...it's a little bit rusty. I have a terrible, terrible camera, hence, the bad pictures! So, let's jump right in!
To get started you are going to need 2 yards of fabric. This will be plenty to make two scarves, but because you need such a long strip of fabric, you have to buy two yards.
For this scarf I used 100% cotton weight fabric.
1. Cut two strips of fabric 6.5"x 68" and 12 strips of fabric 4"x15"
2. Start with the two long strips and place right sides together and stitch a half inch seam down each long side. Do not sew the ends together.
3. Once you have sewn the sides, go back and either surge or zig-zap the raw edges of the long sides.
4. Turn this long "tube" right side out. 
5. Iron the "tube" flat, making sure the seams are on the edge. Place the tube to the side for now.
6. Now, take four of the smaller pieces of fabric (these are the first ruffle of each end). Place right sides together and sew around three sides, two small, one long, leaving one long open. Go back and finish off the edges of the three side that you just have sewn.
7. Turn right side out and use something to create sharp corners.
8. Iron the ruffles 
9. Top stitch only around the three sides, leaving the top long edge open still.
10. Zig-zag the top edge closed.
11. Now, do a basting stitch a half inch below your zig-zag stitch.
12. Pull your basting stitches to create a gather at the top edge of the ruffle. Keep pulling until the ruffles are the same width of the tube of fabric.
13. A trick to keep your basting stitches from coming out is to place a pin at each end of the basting and once your ruffle is at the desired length, place a pin and wrap your basting thread tails around the pin.
14. Now, open each end of the tube and fold under 3/4ths inch and press.
15. Open the end of the tube and insert the zig-zag edge of the ruffle up into the tube until your basting stitches are not showing anymore.
16. Make sure the ruffle fits nice and perfect. 
17.Pin your ruffles in place and top stitch all the way around the scarf, being sure to catch both sides of the ruffle at both short ends.  
18. Now, we are going to create the last four ruffles (two for each end). Place right sides together and sew around the ruffles leaving a two inch opening for turning right side out.
19. Be sure to clip your corners before turning.
20. Once turned, press, top stitch around the ruffle, on one short side, along the long side with the opening hole (this top stitching will close that hole) and up the other short side. Then, run a basting stitch along the un-top stitched side of the ruffle.
21. Now, measure up an inch and a half on each side of the scarf and place a pin on either side. Then measure up another inch and a half from that point and put two more pins.
22. Pull your basting threads until the ruffle is the same width as the scarf. Pin in place. Once pinned, sew across that top length of the ruffle to attach it to the scarf. Pull out your basting stitches.
Add all of the remaining ruffles. (There will a total of three ruffles on each side)
**Be sure to put the ruffles on the same side, but different ends, of the scarf!**
23. Run the iron over the scarf to give it a polished look.
24. Ta-da! Your new ruffle scarf is done!

Super fun and super cute! I hope you have fun making this scarf!
 
But, just in case you don't want to make this scarf, but would rather WIN this scarf - then you are in luck!! I am going to give this scarf away! Yippie!
 
So, to enter to win, this is what you gotta do!
1. Leave a comment that you agree that I need a new camera!
2. Become a follower of my new blog, and leave a comment telling me so.
3. Link this page up to your Facebook page and then, leave me another comment telling me so.
 
That's it. You have three chances to win this scarf!
 
I will leave this giveaway open for one week, so I will announce the winner next Thursday (11/15/12) before noon.
 
Sorry, but I can only mail to U.S. residents only!
 
Good Luck!


Ruffled Scarf

Well today was crazy! It's almost 3:00 a.m. and I am still wide awake! So, what else does a gal do when she can't sleep? SEW! I have had an idea of a scarf in my head for the past little bit. I made it tonight and I wanted to share it with you. I am putting together a tutorial to teach you how to stitch the scarf up yourself, and hopefully I will have it up for you tomorrow sometime. This is a great beginner project if you are just getting into sewing.
 
OK, here it is...

 
It came out just like I had in my head! I have seen ruffled scarves around Pinterest, and my idea kinda combined a few of them in one.

 
This particular scarf is made out of 100% cotton, so not heavy at all. I live in the southwest where I don't need a warm scarf, but think how cute this would be in a cute flannel! Hmmm...I just may have to try that!
 
OK, now I guess I should try to go to sleep! Good night!